
A career is like climbing a mountain. There are infinite trails that lead to the summit of retirement, an overlapping web with many twists, turns, and junctions. What to do, then, when the track you’re following loses its luster? When you start thinking back to a decision, years ago, that led you to take the right fork when now you’re more interested in the left?
The Winter 14ers “Game”: 2018-19 Kickoff

With true, honest-to-God calendar winter beginning today, Friday, Dec. 21, it's the perfect time to give a brief rundown of what exactly counts as a winter 14er, strictly speaking, and why anyone even cares.
5 Winter 14ers for Beginners
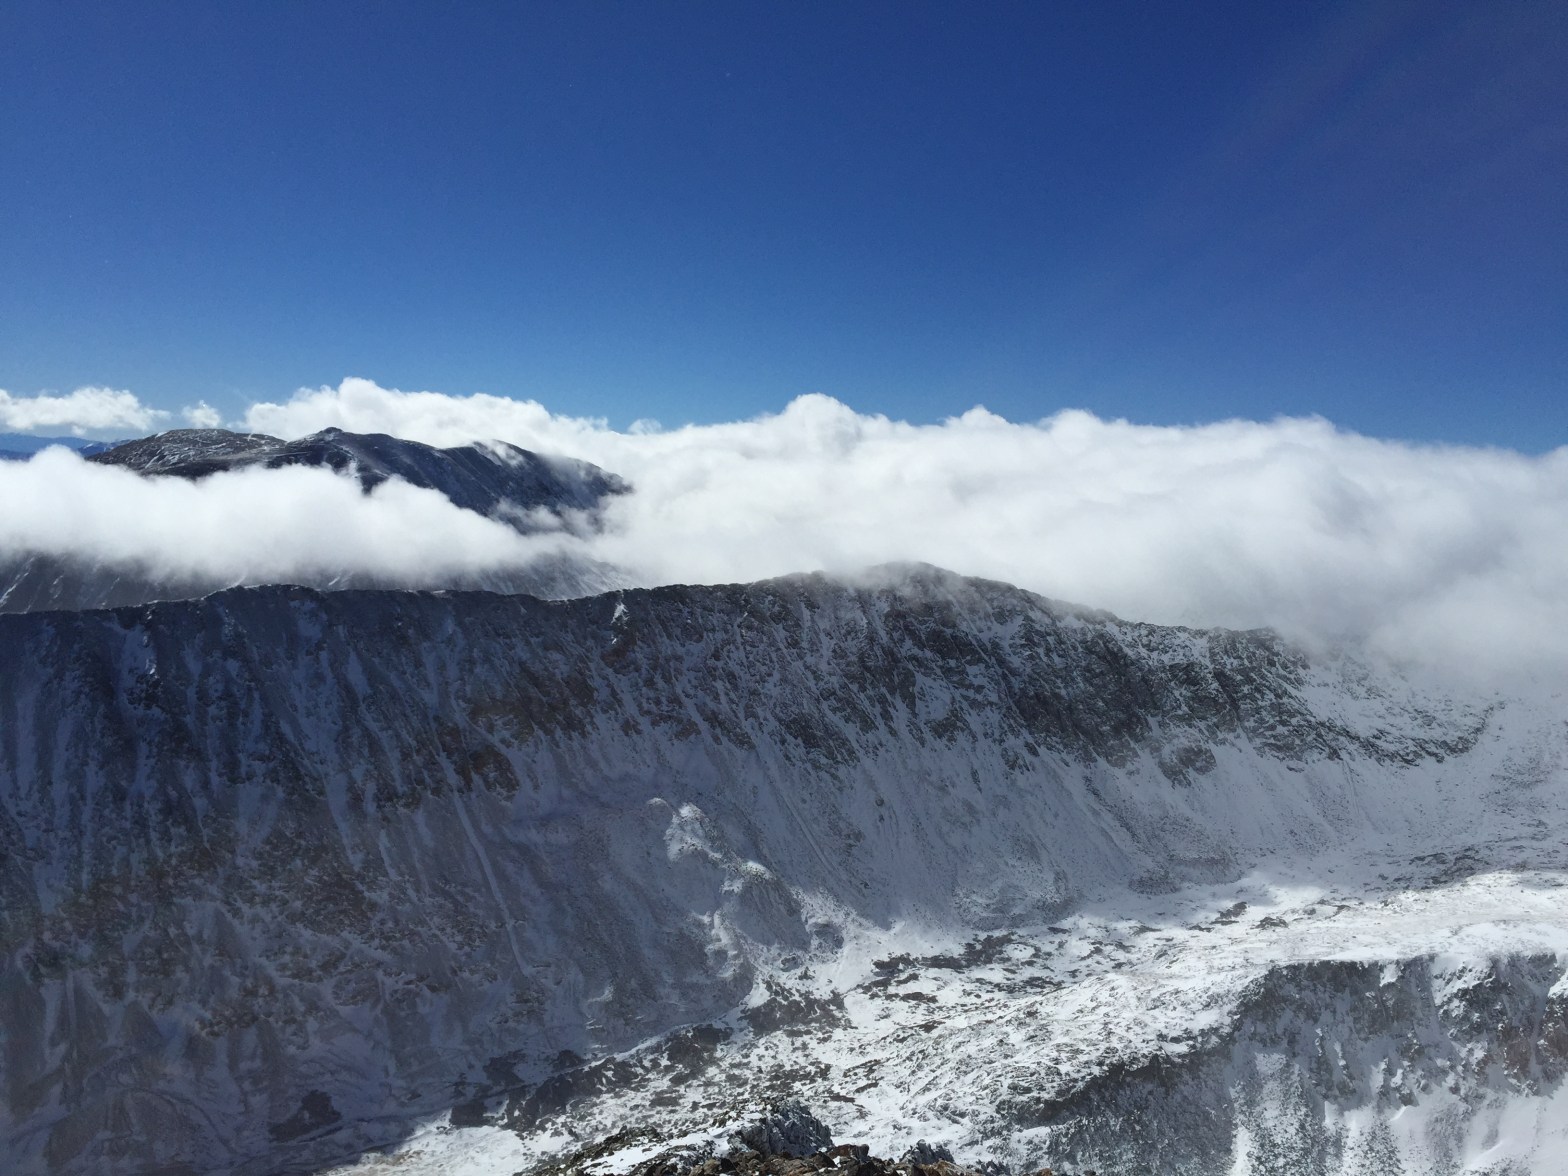
I chose the following five winter 14ers based on access, minimal avalanche danger, ease of routefinding and general popularity. Many others are doable as relatively safe winter daytrips. These are simply the lowest-hanging fruit.
Controlled Forms in React

Controlled form inputs are a core React concept that can be confusing for programmers new to the framework. Along with quirks like props and hooks, it's one of the few nuances a web developer needs to understand before bringing even a basic React app to life.
Refactoring a Class Component to a Functional Component in React, with Hooks

Hooks were introduced a little more than two years ago, when Facebook released React 16.8 in February 2019. Many software engineering students still learn React workflows using class components before shifting over to hooks, and the transition can be a little confusing.
A Beginner’s Guide to JavaScript Event Delegation

Event delegation is often a great way to start refactoring novice JavaScript code. This allows you to place a single EventListener on a parent element that does the work of a few, or dozens, or even hundreds of EventListeners. It makes code so DRY you might as well move to Moab and start a sandpaper business.
Buyer’s Guide: Snowshoes for Mountaineering
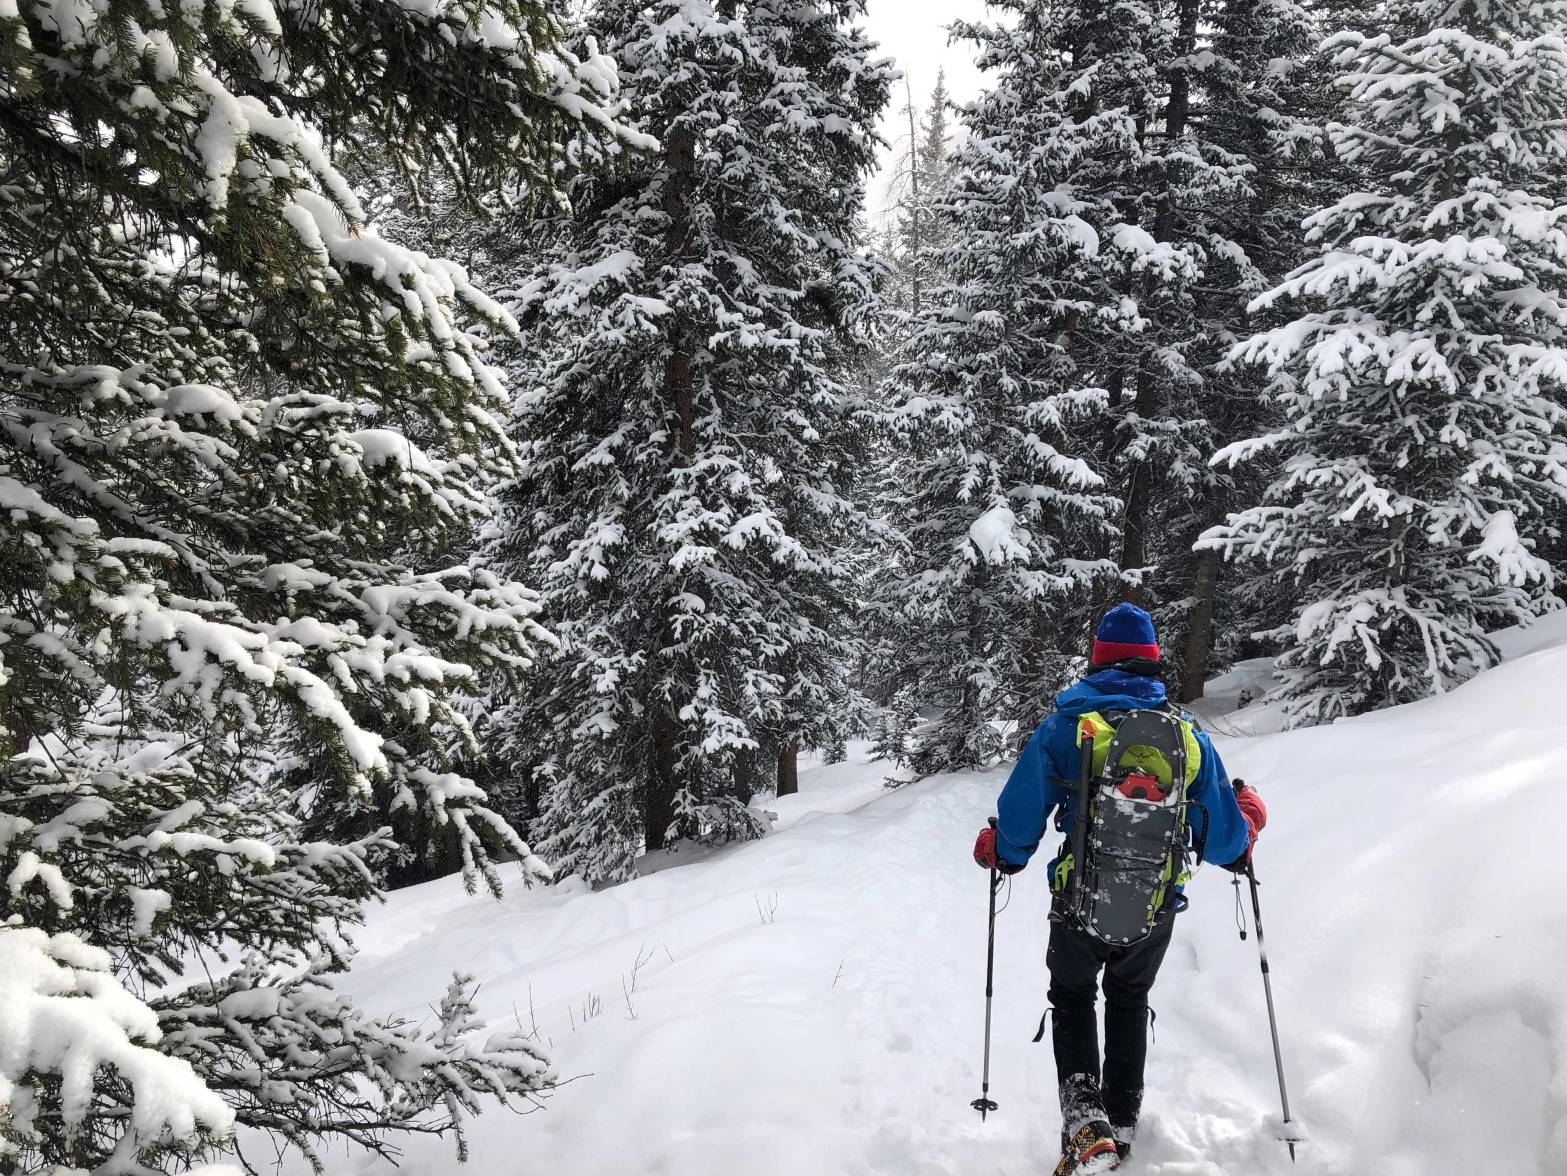
Buyer's Guide: Snowshoes for Mountaineering
8 Tips for Winter Hiking with Your Dog

Dogs are descendants of wolves, and wolves are synonymous with snow. It’s hard to imagine canis lupus stalking prey without a backdrop of silent winter white. While some domestic dogs still share many traits with the mighty timberwolf, others are less equipped to handle the elements. I doubt a Bichon Frise finding much enjoyment in gettingContinue reading "8 Tips for Winter Hiking with Your Dog"
The Pros and Cons of Adopting a Mountain Mutt

You can hardly hike a trail in the Front Range without spotting one. One-third heeler, one-quarter lab, one-fifth aussie and pure unfiltered joy, the mountain mutt is a Colorado staple. The Denver metro area alone has dozens of rescue organizations and shelters dedicated to plucking these pariahs from areas they’re unwanted -- reservations, slums, formerContinue reading "The Pros and Cons of Adopting a Mountain Mutt"
The 13 Types of People You’ll Meet on a Colorado 14er

The allure of a 14er summit beckons to people from all walks of life. To some it's simply a thing to do during summer break, to others it's the realization of a lifelong dream. Colorado's mountains are tools used to achieve personal fulfillment, escape the doldrums of urban life, seize the vitality waiting untapped in the alpine or feed a fragile ego. Whatever brings them to the base of the mountain, most 14er hikers fall into one -- or a combination -- of the following categories.
Igniting a Life Outdoors: A Jacket, WornWear, and Rebirth

Like a first love, it opened a world of possibilities. I was 23 and a recent transplant to Boston when it found me on the glossy back page of an outdoor magazine. I was newly severed from the Rocky Mountains, for which I'd only just begun to develop an affinity, displaced into a world of brickContinue reading "Igniting a Life Outdoors: A Jacket, WornWear, and Rebirth"
